A few weeks back I needed an Icom OPC-1122 programming cable to program an ICOM IC-F211. I decided to make one myself and and here you can read my how to make your own Icom OPC-1122U instructions.
Nowadays, you can get a USB OPC-1122 programming cable on Amazon, eBay or Aliexpress. But if you prefer to try building your own programming cable, keep reading, as I’ll leave all the details below.
Before moving on I would like to be clear on this, I only tested I made the cable on the IC-F211. I know this cable can program other Icom radios so try this on your own risk.
What is needed to make your own Icom OPC-1122U programming cable
Basically to make your DIY OPC-1122U are two things:
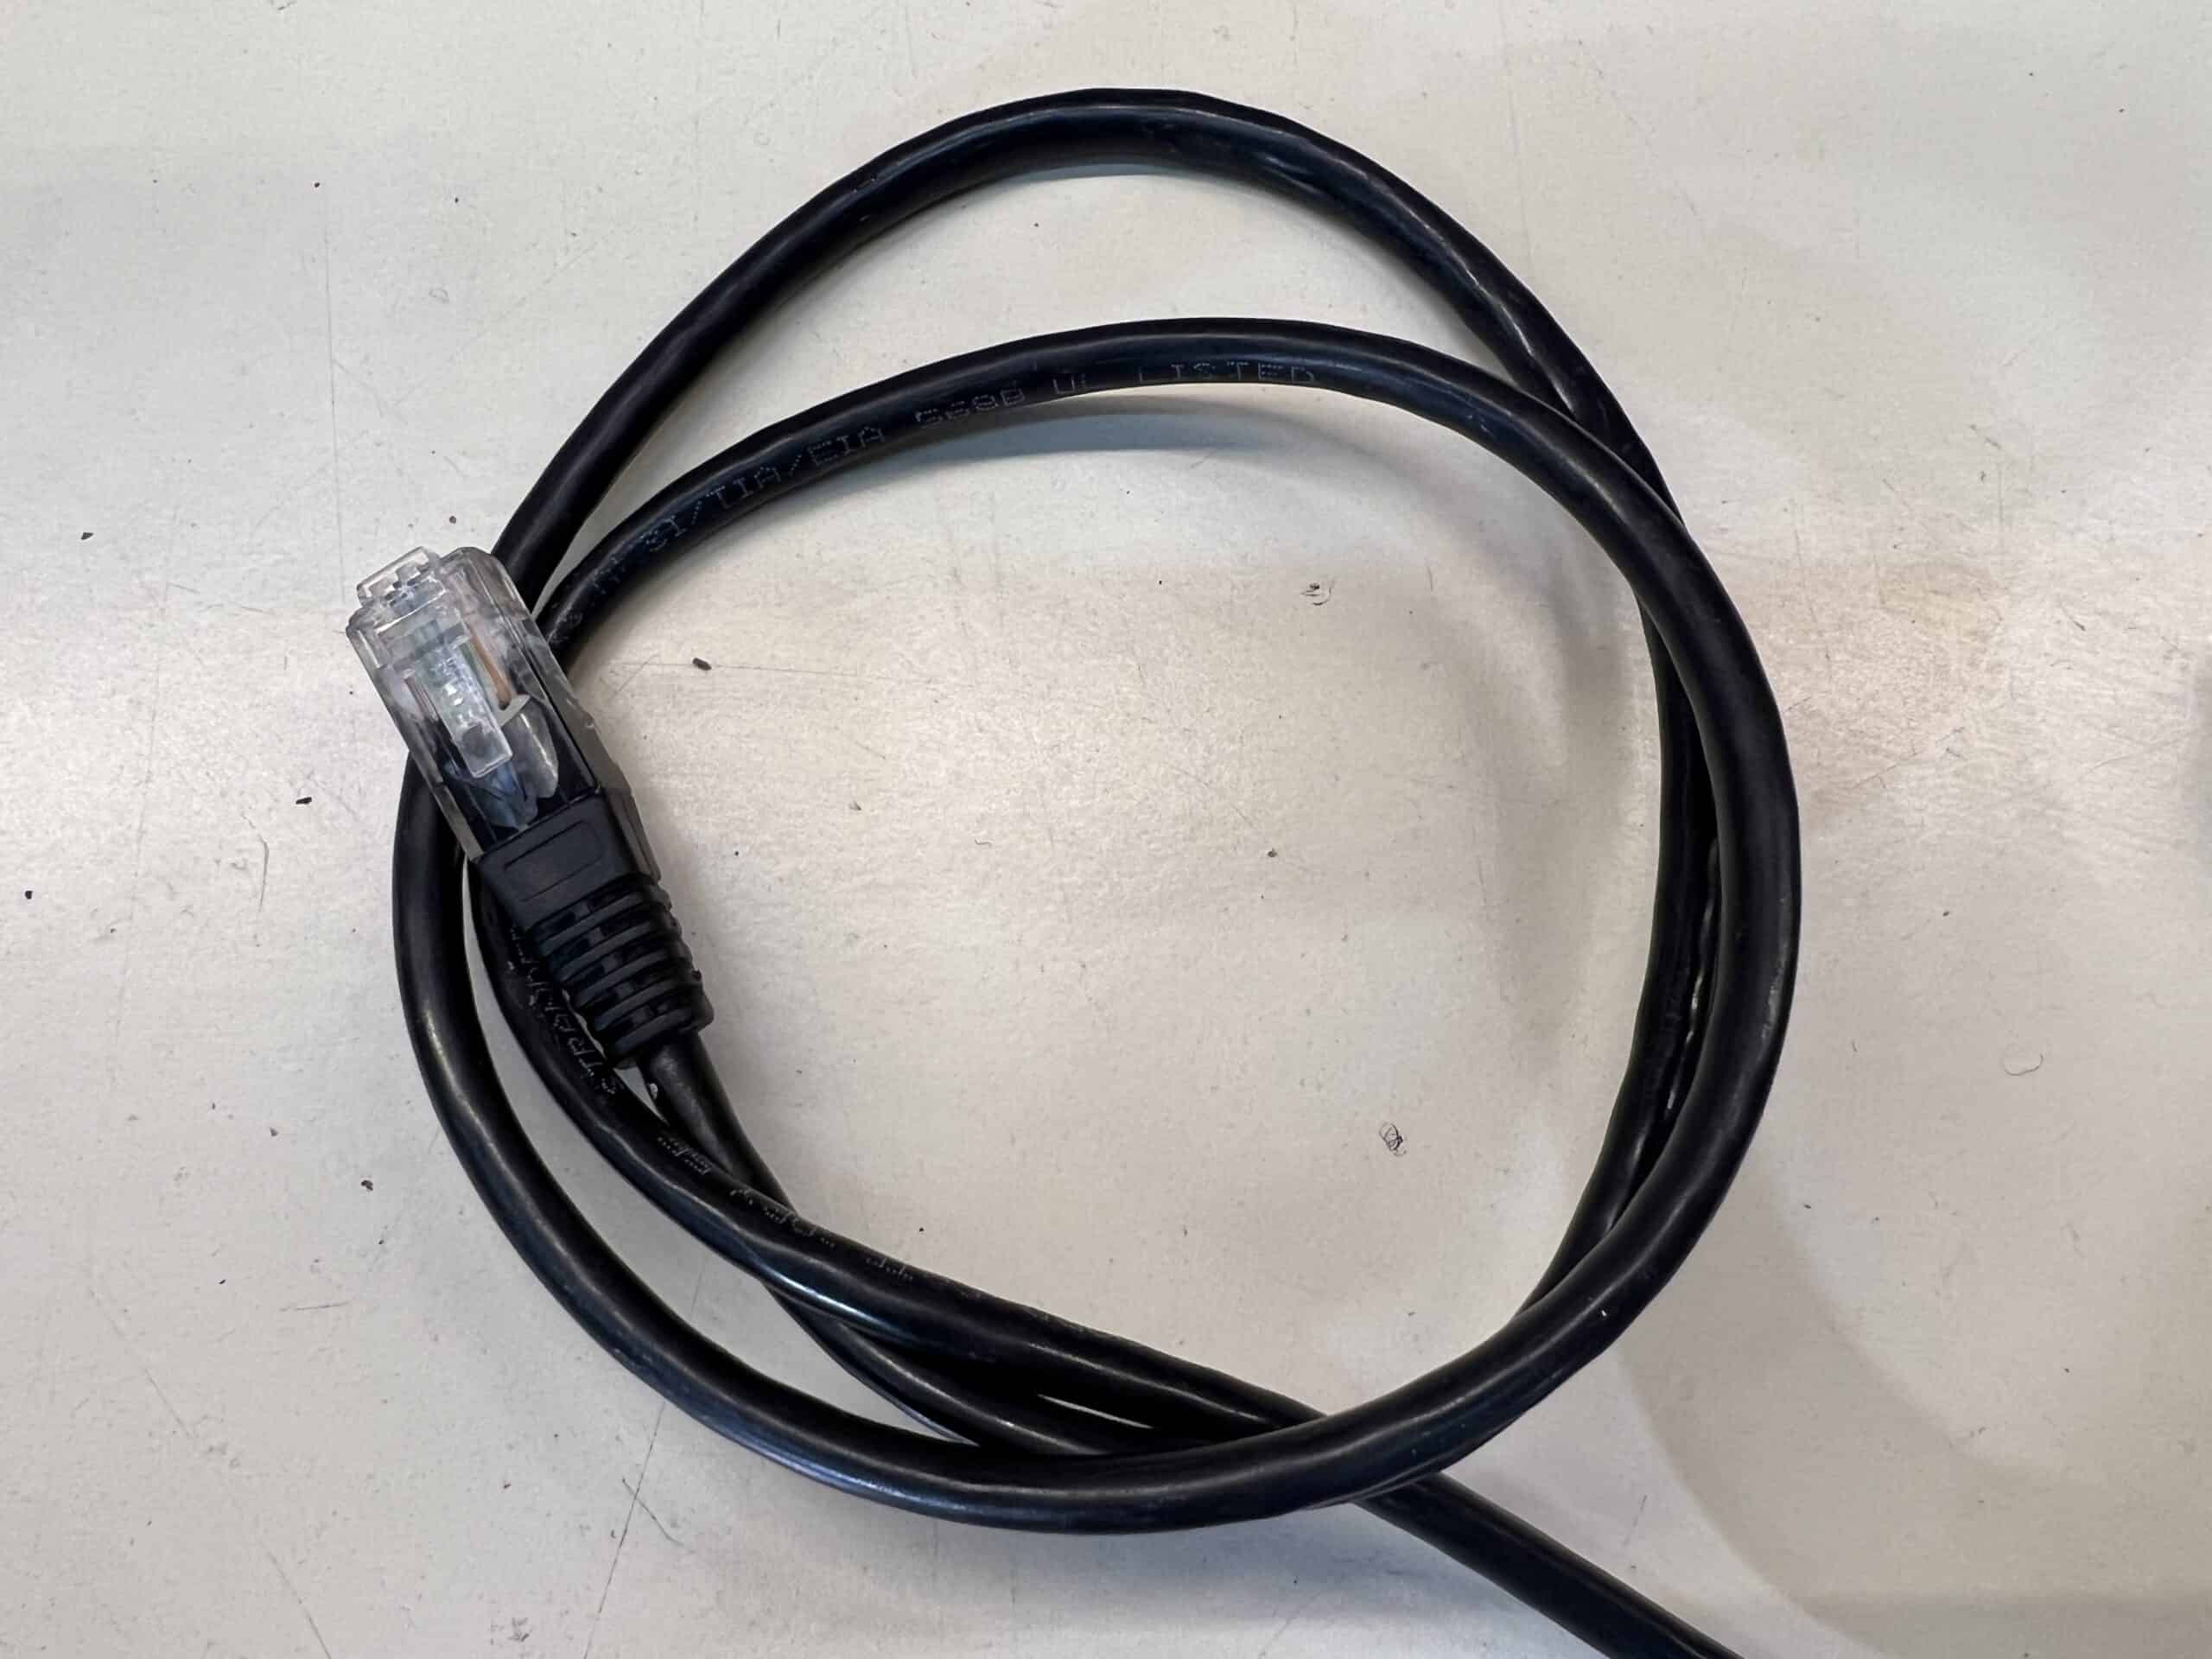
- A used computer network patch cord
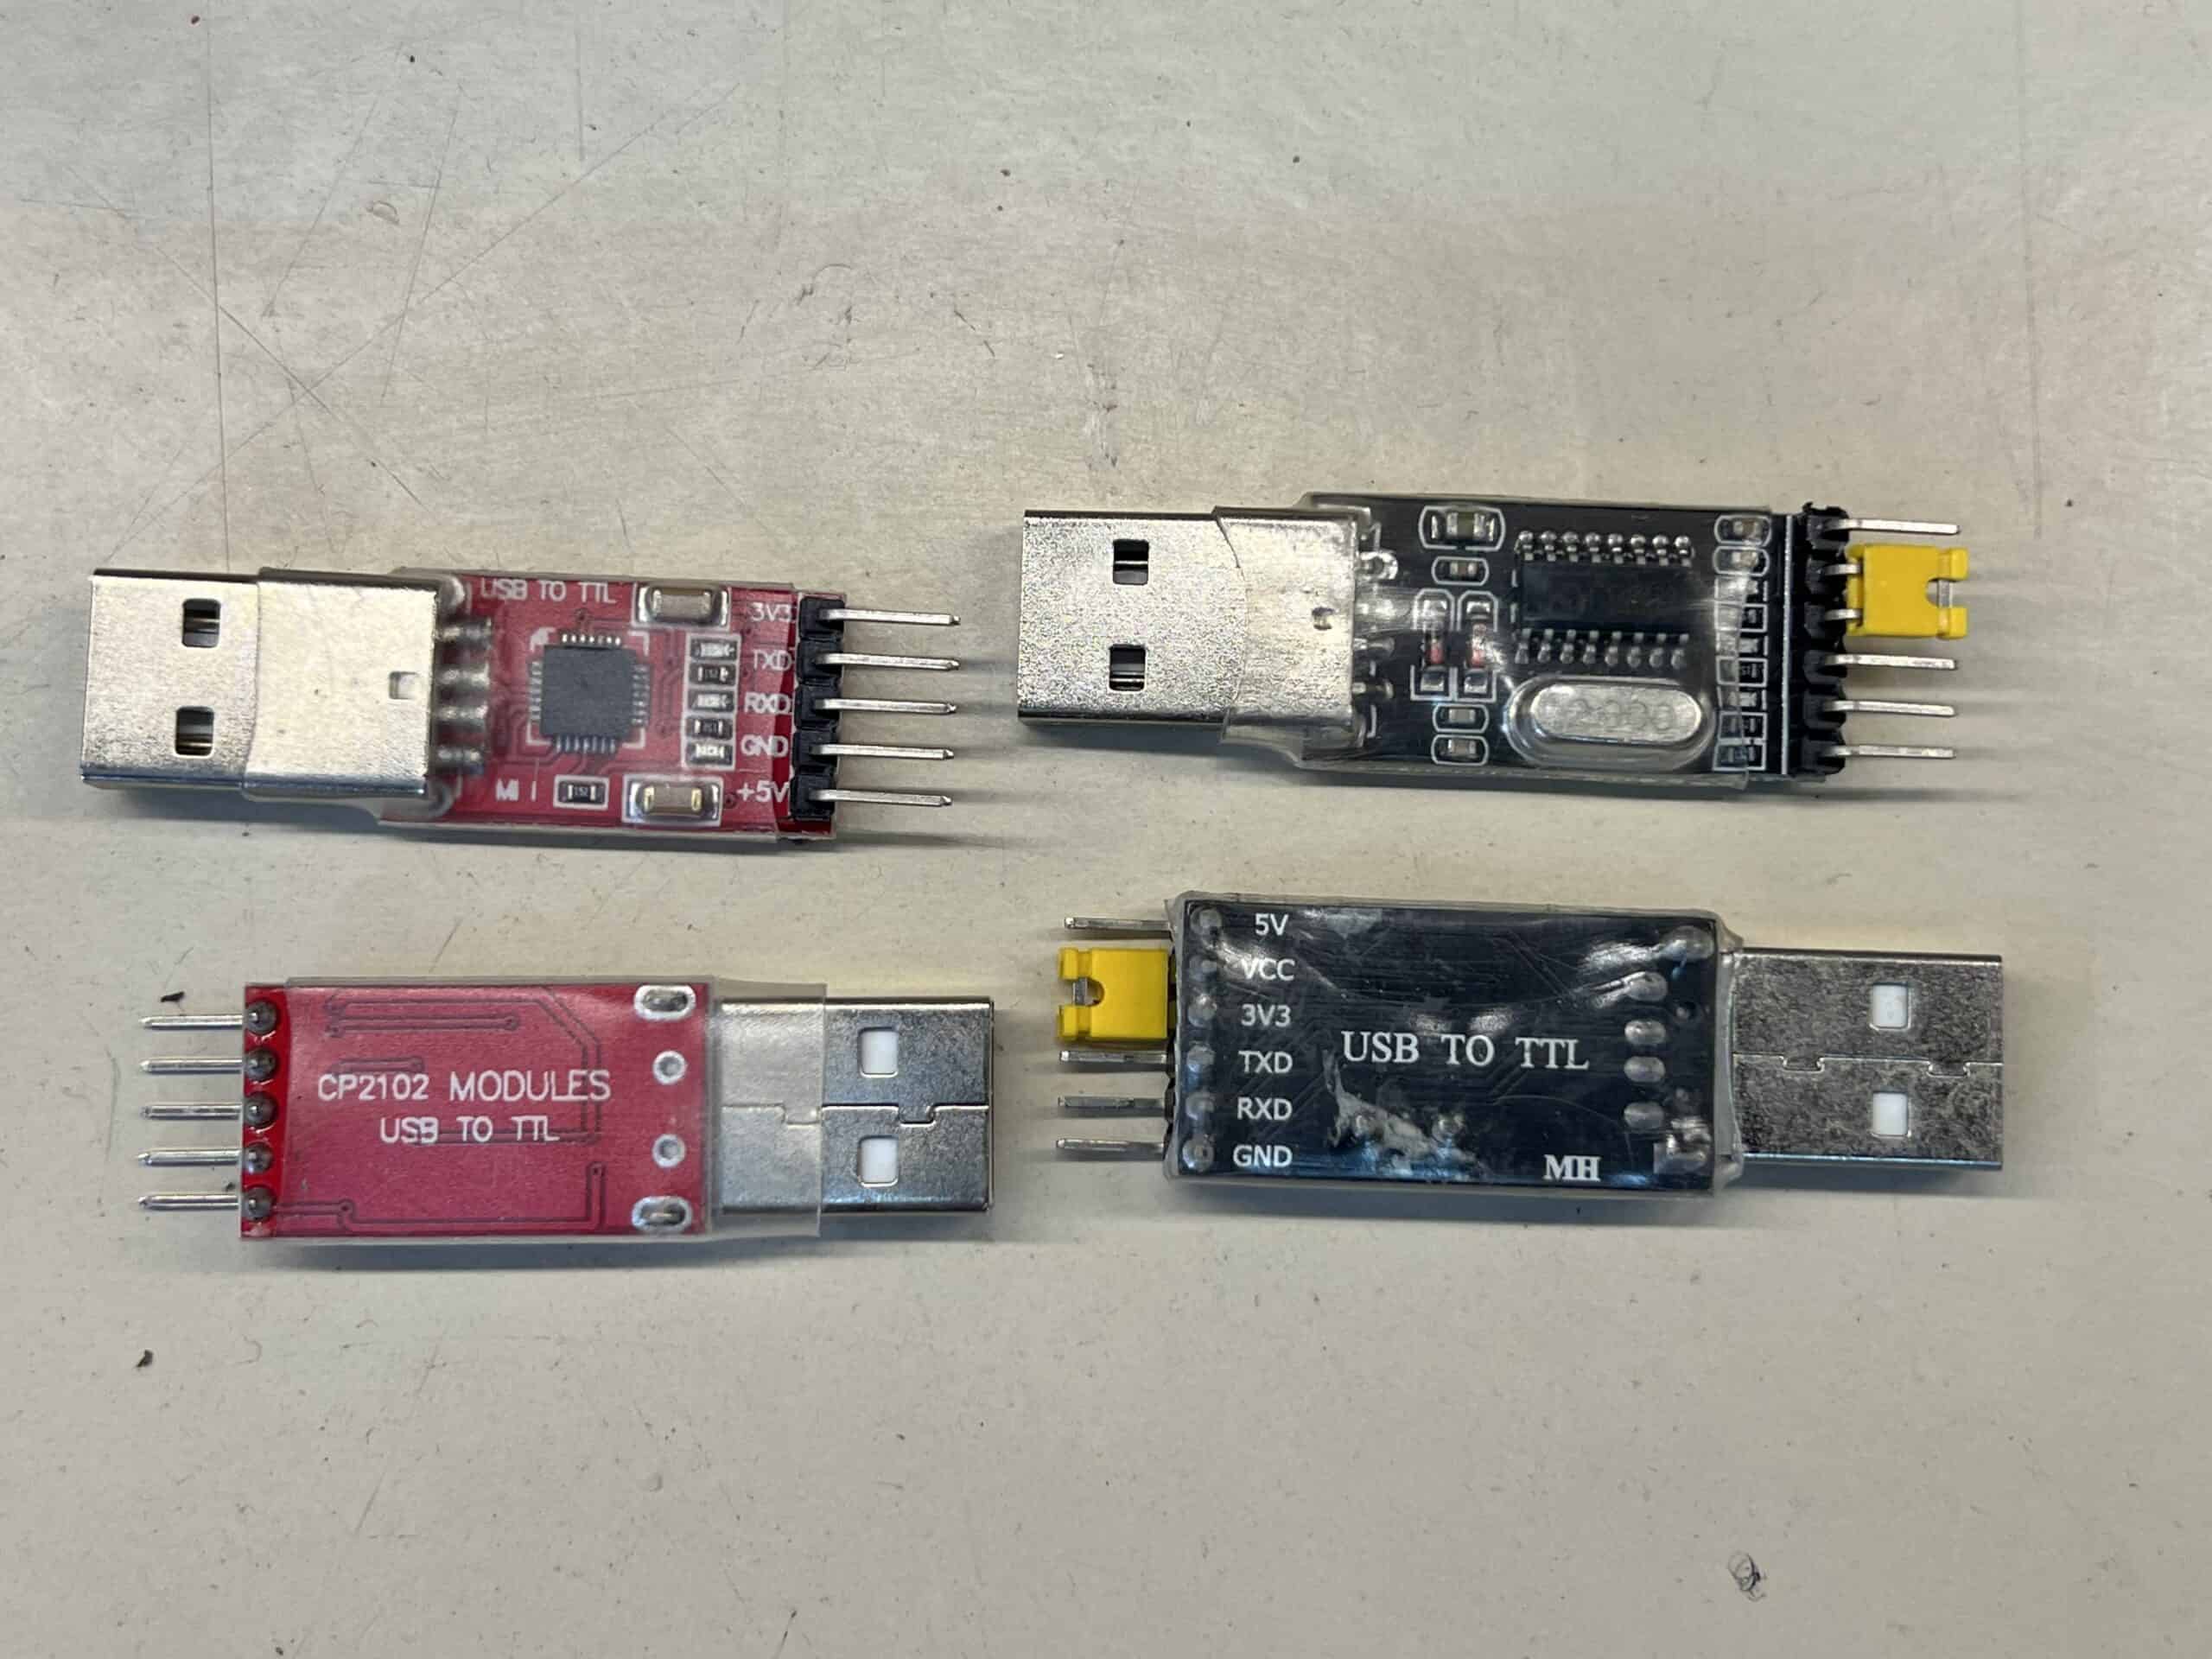
- An USB to TTL adapter
You can make your own programming cable using a used computer network patch cord or make one in case you have the needed tools. I always have some broken network patch cords around and use those to make my own programming cables and that´s why I included a used patch cord on the list. It´s up to you what to use.

The other thing you need to get is a USB to TTL converter. This is used to connect the programming cable to a USB port on your computer. You don´t need to buy those 6 pins converters, just buy one with 4 pins, we only need to use just 3 of those pins.
In case you don´t have a USB to TTL converter you can buy one on amazon, aliexpress or ebay.

How to make your own Icom OPC-1122U – DIY
To make the OPC-1122 we need to connect or solder the network patch cord to the USB to TTL adapter.
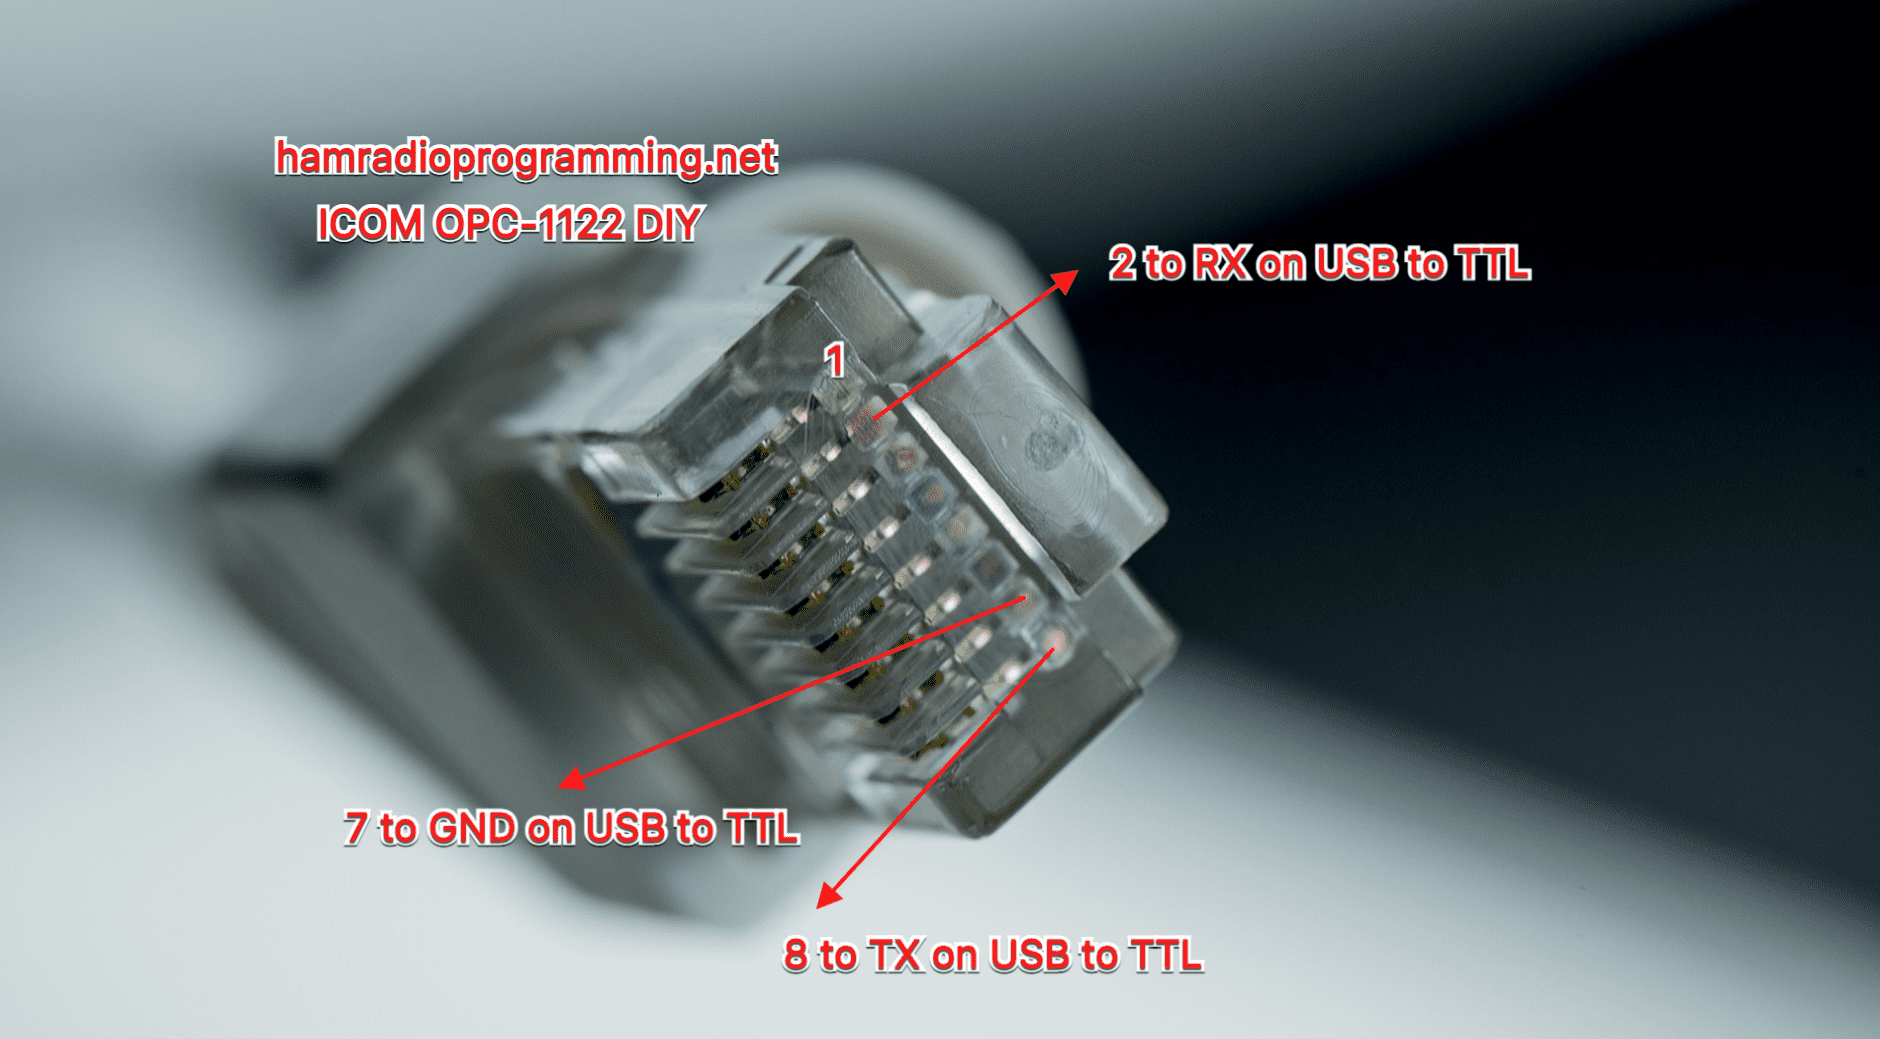
The pinout you need to connect is as follows:
| TTL Adapter | RJ 45 connector |
| VCC | Not connected |
| RX | Pin 2 |
| TX | Pin 8 |
| GND | Pin 7 |
To clarify a little bit I created the following image to help you understand better how to connect the network patch cord to the USB to TTL adapter.

You just need to solder the cables as mentioned and you are all set. Be sure to do not connect anything wrong, specially pin 1 of the RJ45 because it carries 8 volts and if you connect it to somewhere it doen’t belong you will end up having some smoke in the room.
Now go ahead and try your DIY OPC-1122 cable, on your radio. There is nothing else to do.
Hope this post helped you understand the necessary steps to make your own Icom OPC-1122U. If you have any questions please feel free to leave a comment or post on the Icom Radio User forum.

Hi Nicolas,
What a great post you have made, this is really useful. I have an ICOM IC-F6022 base station which I am going to use the cable for. Do you know where to download the software for doing the programming? I have either Windows 11 or Linux PC’s to use.