On this post I’m going to cover what is hampi and how it can help amateur radio operators, software included, hardware requirements and how to install and update the distribution
Hampi is a Linux distribution that includes tools needed by ham radio operators. The Hampi project aims to create an all-platform ham radio operating system, running on ARM, MIPS, x86, and other processors, to provide a ready-to-run turnkey solution for ham radio enthusiasts. The Hampi project also provides a low cost introduction to the world of amateur radio for young people.
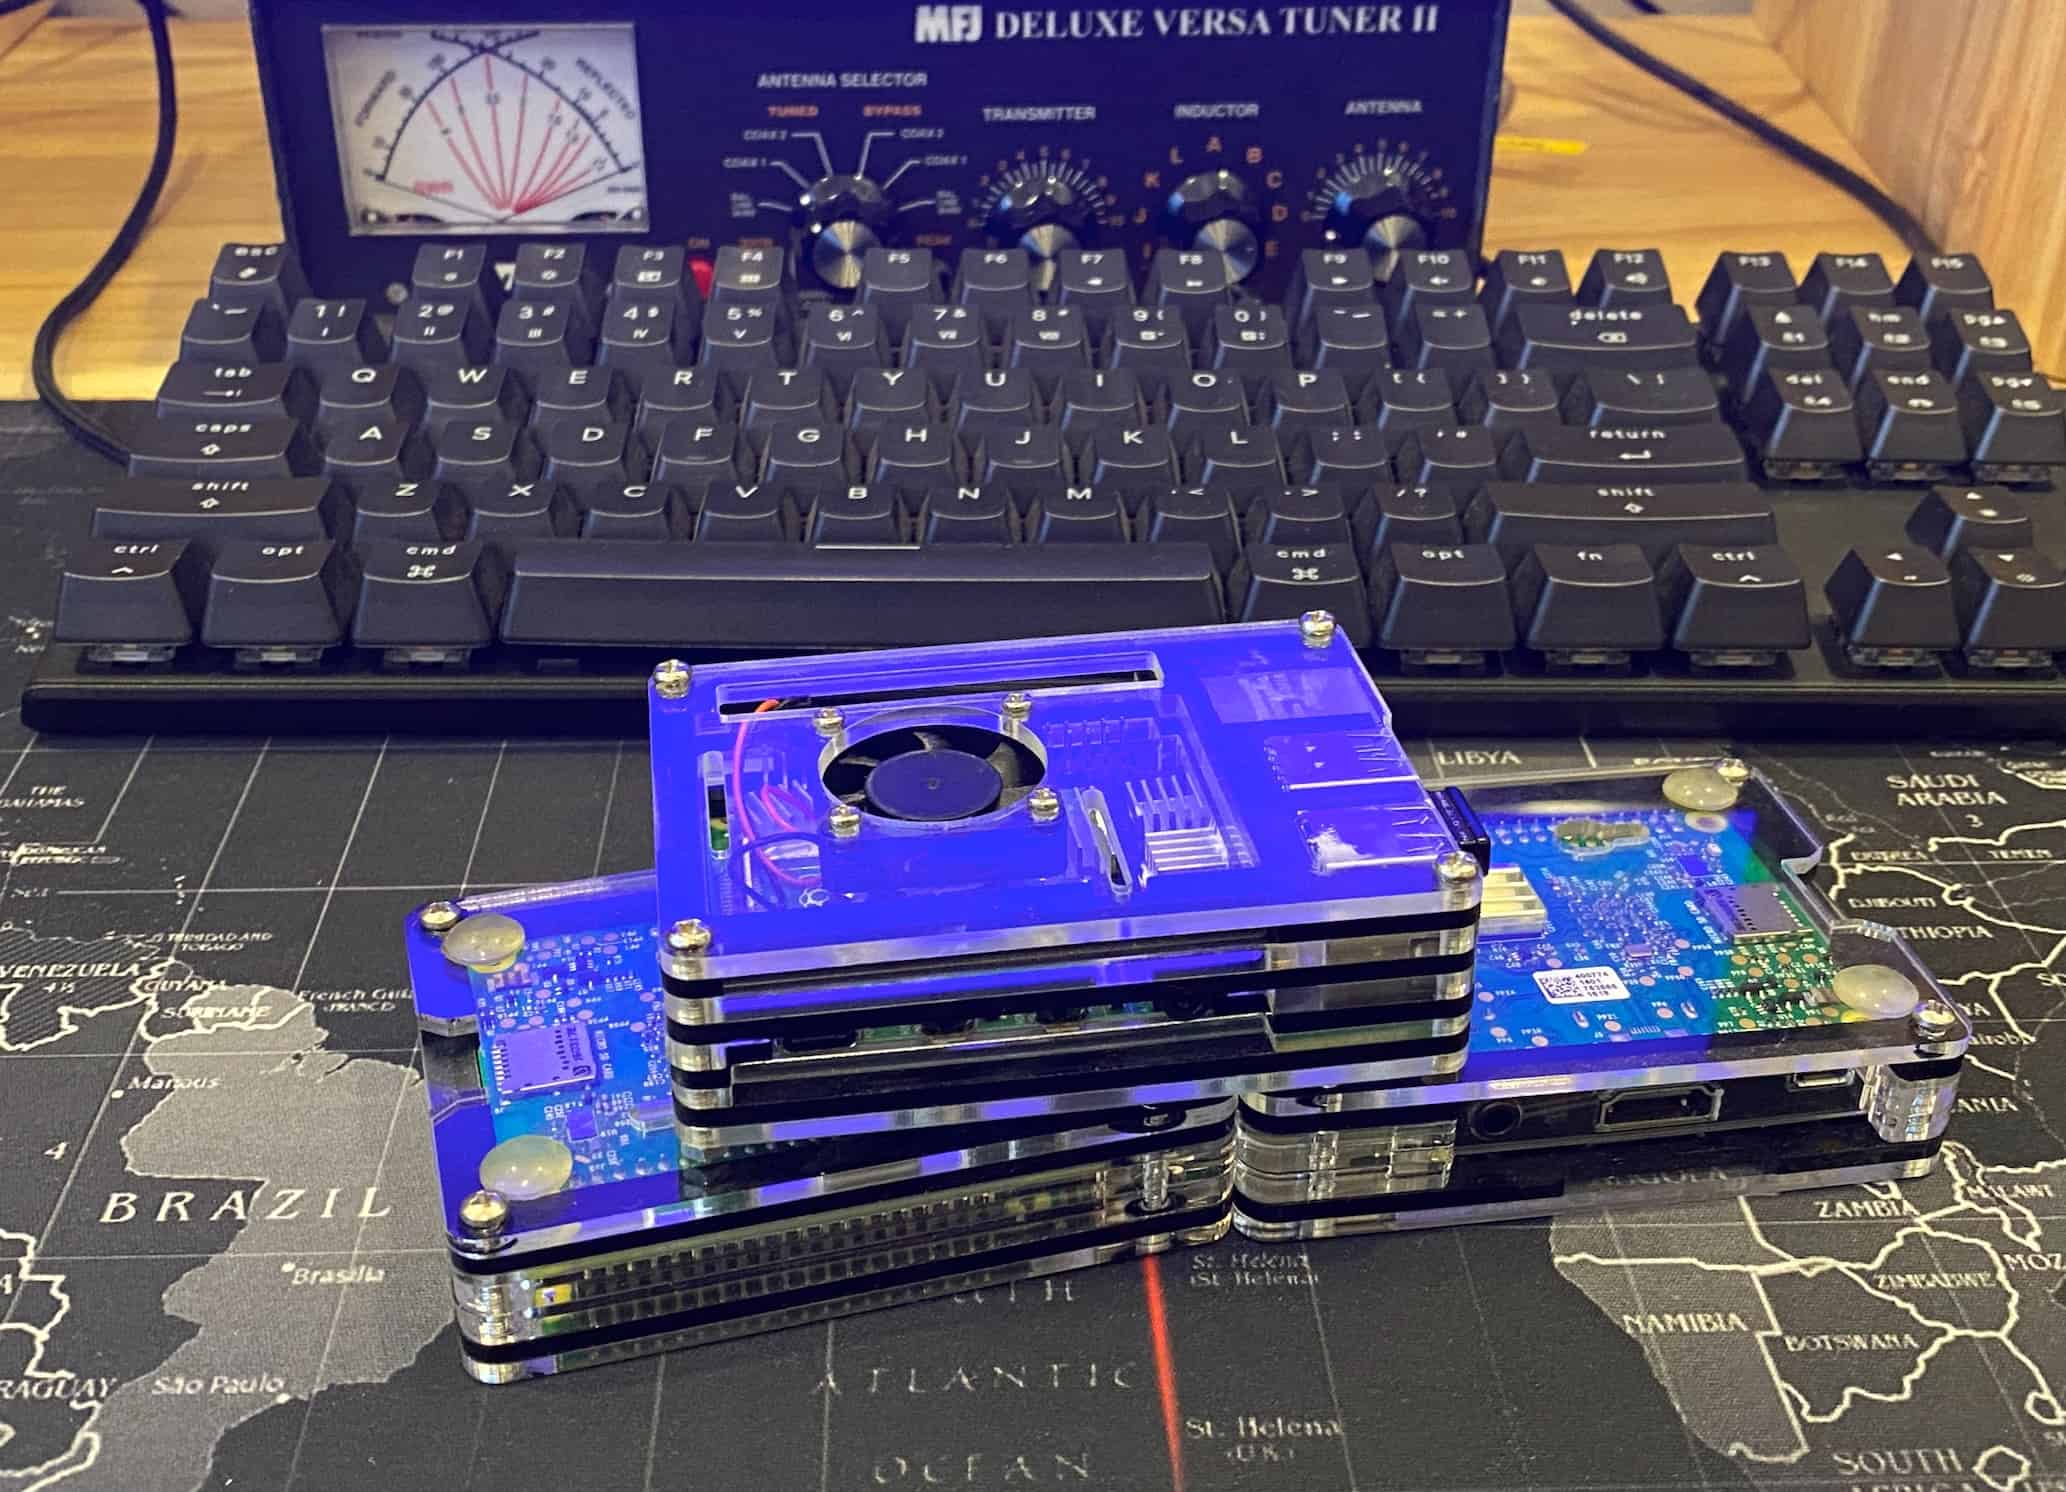
The Hampi project was started in 2020, aiming to use Linux as a way to teach more people about ham radio and help them start developing the skills they need to become more knowledgeable hams. Hampi includes many tools including GNU Radio, RTL-SDR/RTL2832U-based software defined radios, various pieces of hardware like sound cards and TV tuners, and drivers for devices like RTL-SDR dongles.
Hampi is not yet available on Raspberry Pi or any other small form factor devices that might be desired by hams with smaller budgets or less space than what’s available at home
In order to install Hampi on your Raspberry, you will need to download the latest Hampi image and write it on an SD card.
Hampi software included:
-knots for RTTY/PSK/SITOR/SSTV
-Digipan for DIGITAL TV soundcard decoding (needed only if you use coax)
-gqrx for SDR (Software Defined Radio) listening and transmitting
-WSJT-X for FT8 and other digital modes
– wwl – Calculates distance and azimuth between two Maidenhead locators
For the full list of included software please visit the HamPi’s GitHub page.
What is HamPi – hardware requirements
The distribution can be installed on Raspberry Pi 3 and is designed specifically for amateur radio enthusiasts. Hampi hardware requirements are listed below:
-Raspberry Pi 3 Model B+
-Micro SD card (at least 8GB)
-HDMI cable
-USB WiFi adapter
-HDMI monitor or TV with the capability of displaying 720p or 1080p resolution
What is HamPi – HamPi installation
The first thing you have to do to install HamPi is download the image and then burn it on an SD Card. I’m using a MacBook Pro to write this post so the process of burning the image will be for this OS, sorry Windows users.
To burn the image you need and additional software installed on your MacBook. Go ahead and download and install Balena Etcher.
Open Balena Etcher and choose the image location and the SD card for the destination, then click flash for the process to start.
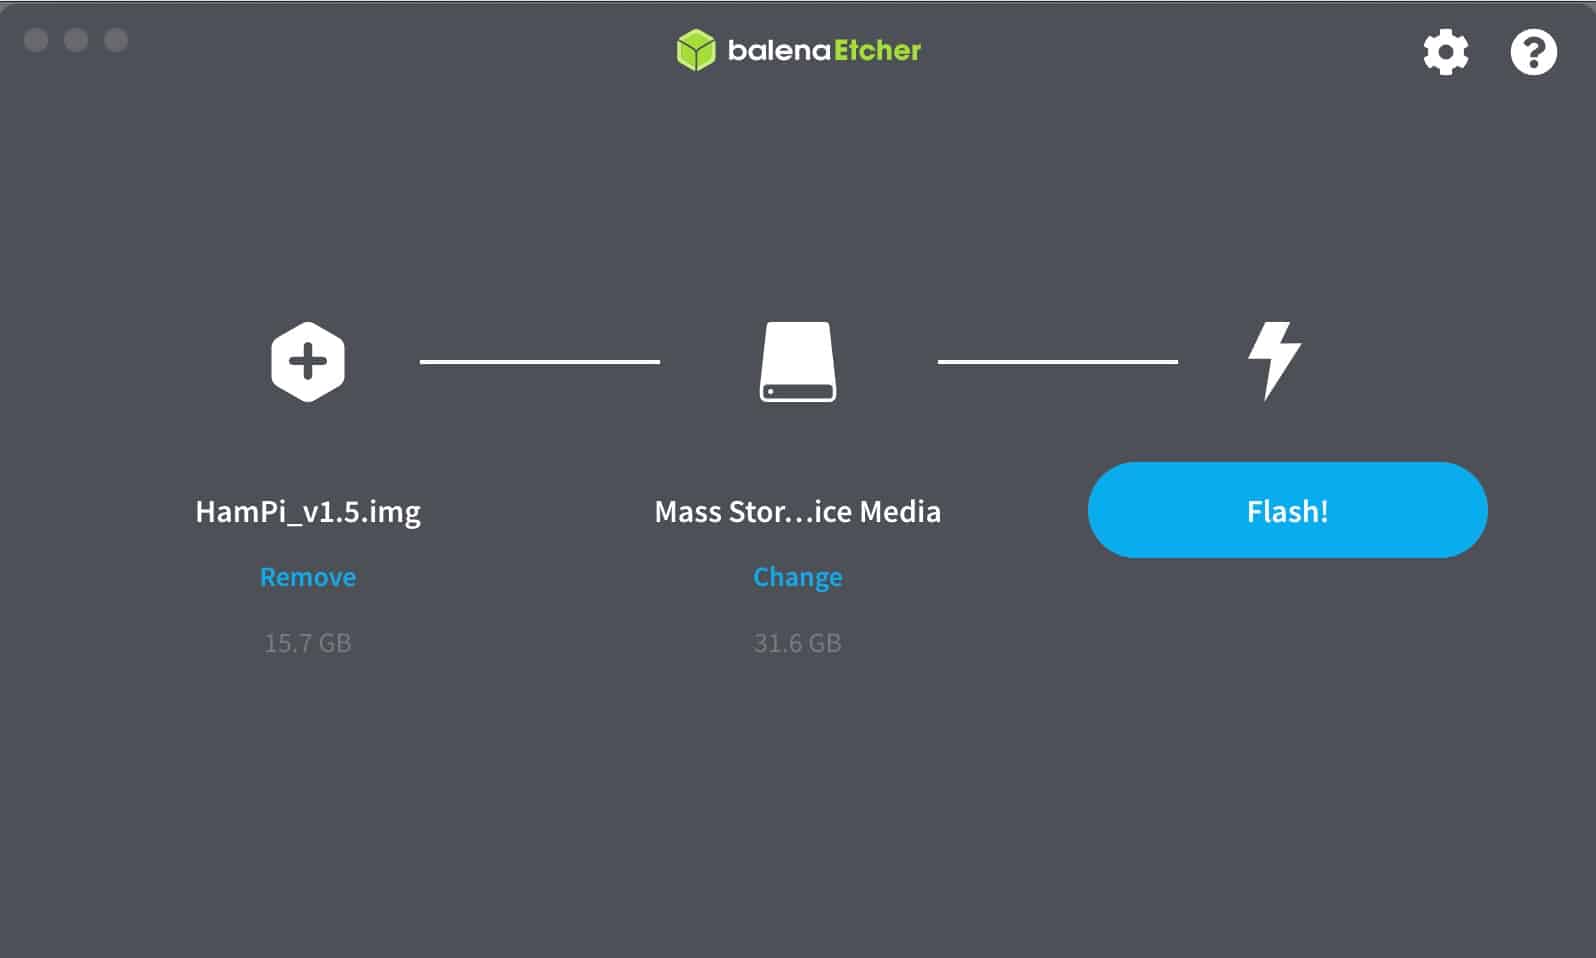
The burning process will take about 15 to 20 minutes depending on the speed of the SD card.
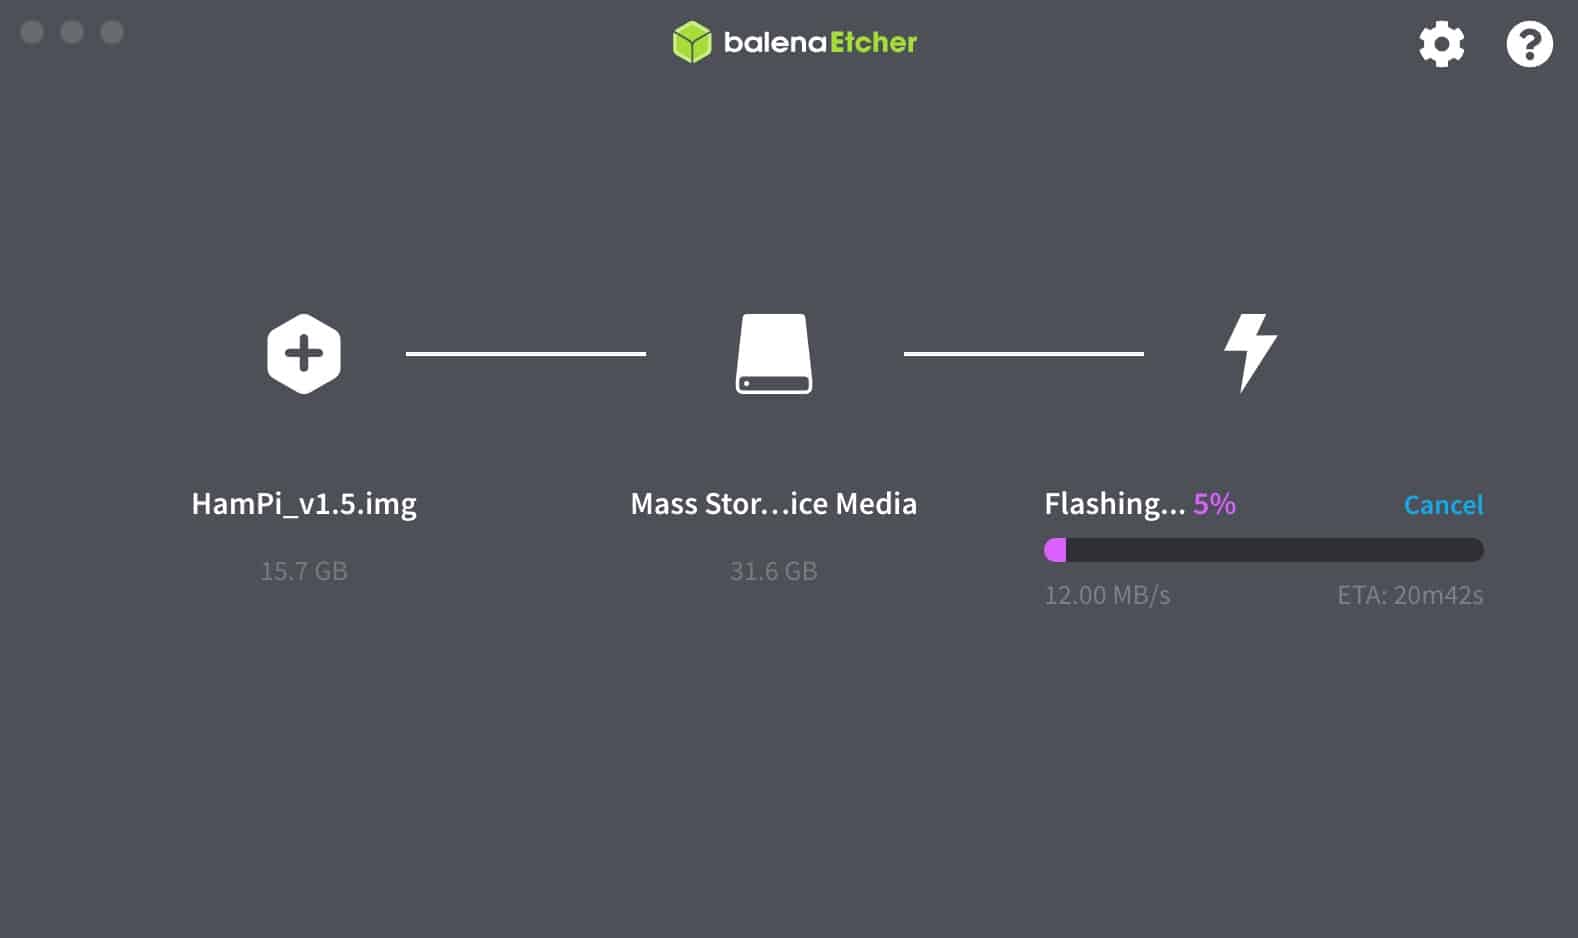
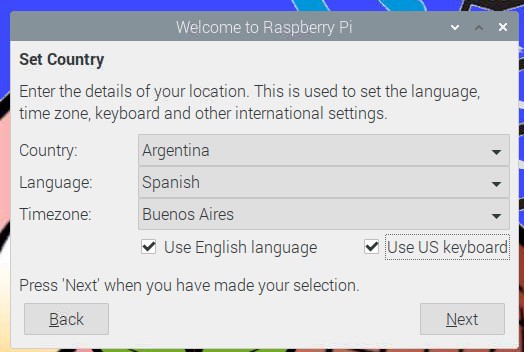
Once the process is finished, insert the memory on the Raspberry Pi and then power it on. After the boot it will ask you to configure the operative system.
Set Country, Language and Time Zone.
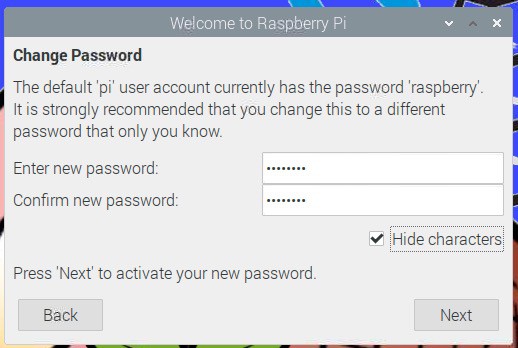
Then, set a password for the default user “pi”
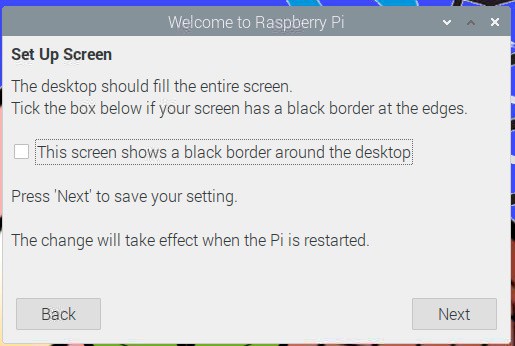
Then, set up the screen
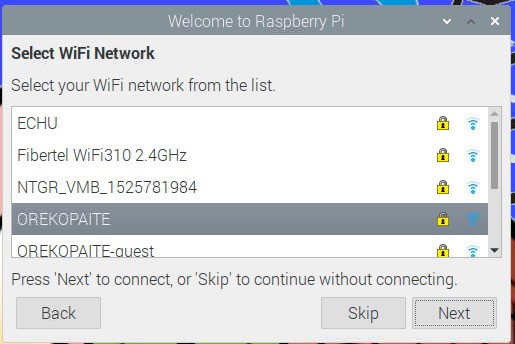
Then, configure the Wifi Network
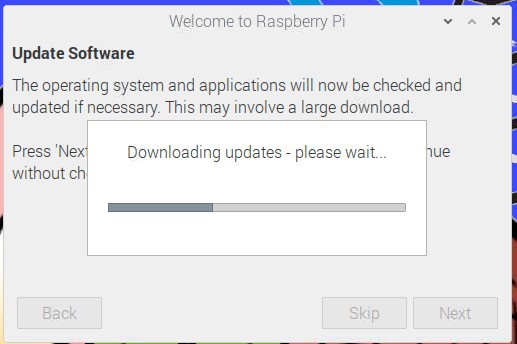
Then, update Software by clicking Next
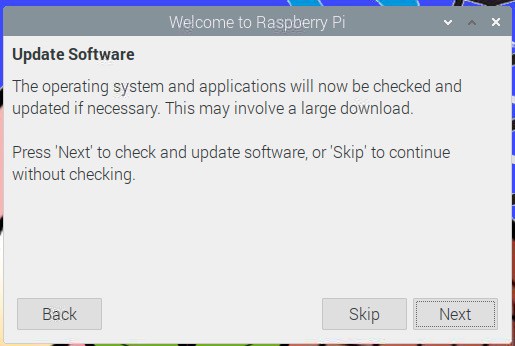
The process will take some time to finish, be patient.
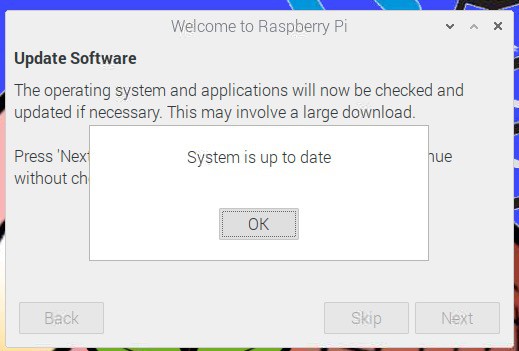
Click OK when the process is complete.
Restart to finish the process
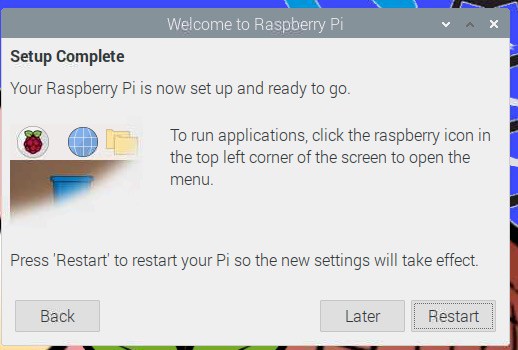
And You are done. The Raspberry Pi running HamPi is ready to go.
Hope this post helped you understand What is hampi and how it can help amateur radio operators. If you have questions feel free to leave a comment or a post on the Ham Radio Forums.

Leave a Reply