After strugling to program this radio for a few weeks (programming cable problem) I will share with you on this post the process of how to program Tait TM8110.
As mentioned on the Tait TM8110 specificacions post, this is my first opportunity to work with a Tait Radio. I own an old one (can not remember the model) that has been on a shelf for years.
How to program Tait TM8110 – What is needed
To program a Tait TM8110 radio, you need basically two things:
- Programming cable
- Programming software
How to program Tait TM8110 – Programming software
The software needed to program the Tait TM8110 is called, not a very original name, Tait TM8100 Programming Application. A good friend of mine allowed me to use a copy of the software to test things and create this document.
Unfortunately, I do not have the copy of the software to share with you and I do not know where you can buy it from a trusted source.
The version used for programming my radio is 3.0900 and it worked perfeclty fine.
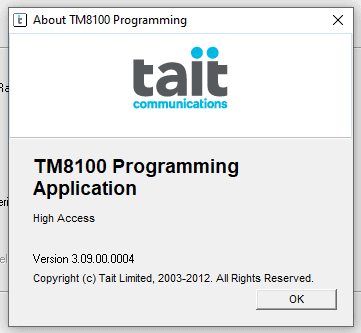
As mentioned before, I do not have the copy of the Tait TM8100 programming application so please do not write to me asking for it. If it helps, there are a few forums around where you can be redirected to the software.
How to program Tait TM8110 – Programming cable
This took me a lot of time to figure it out.
There are not many Tait radios in Argentina. So finding a programming cable for this radios was a nightmare.
First of all I thought using my 8 in 1 radio programming cable, but after some research, I found out that the cable cannot program the radio.
No one was selling the cable on local stores and I did not want to wait for the cable to arrive from overseas so I decided to build my own programming cable.
After some research on the Tait TM8100 service manual, I found the microphone pinout that allowed me to identify the pinout of the programming cable.
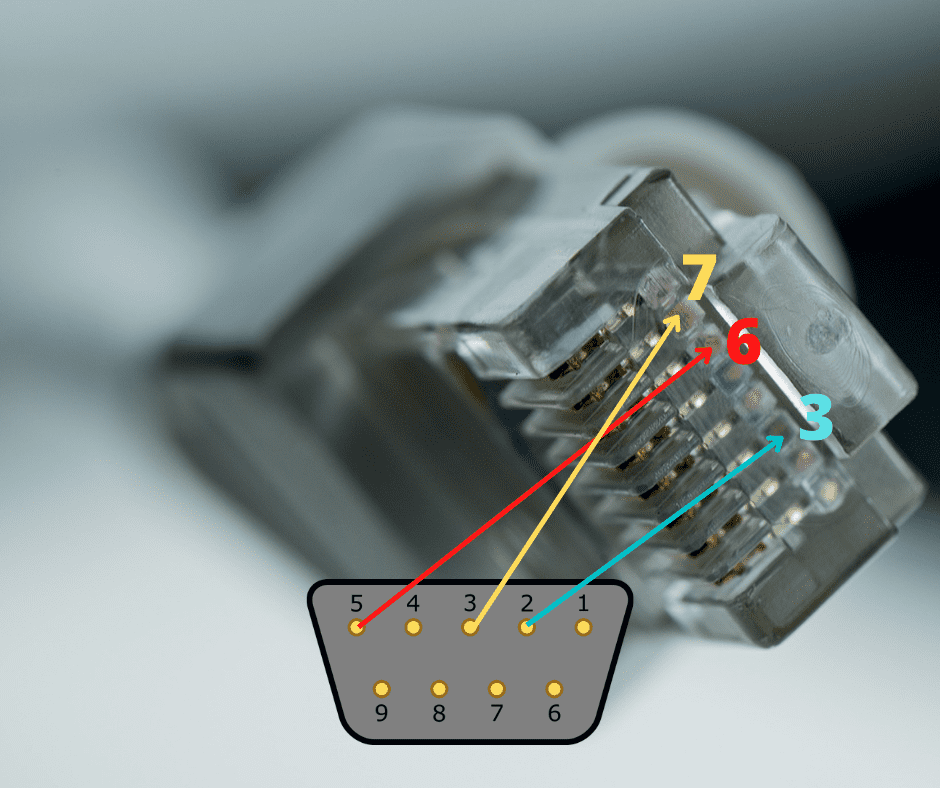
I grabbed an old network patch cord and on one end removed the RJ45 and soldered a DB9 connector using the appropriate pinout. Then, using a usb to serial port adapter I connected the cable I built and was able to program the radio.
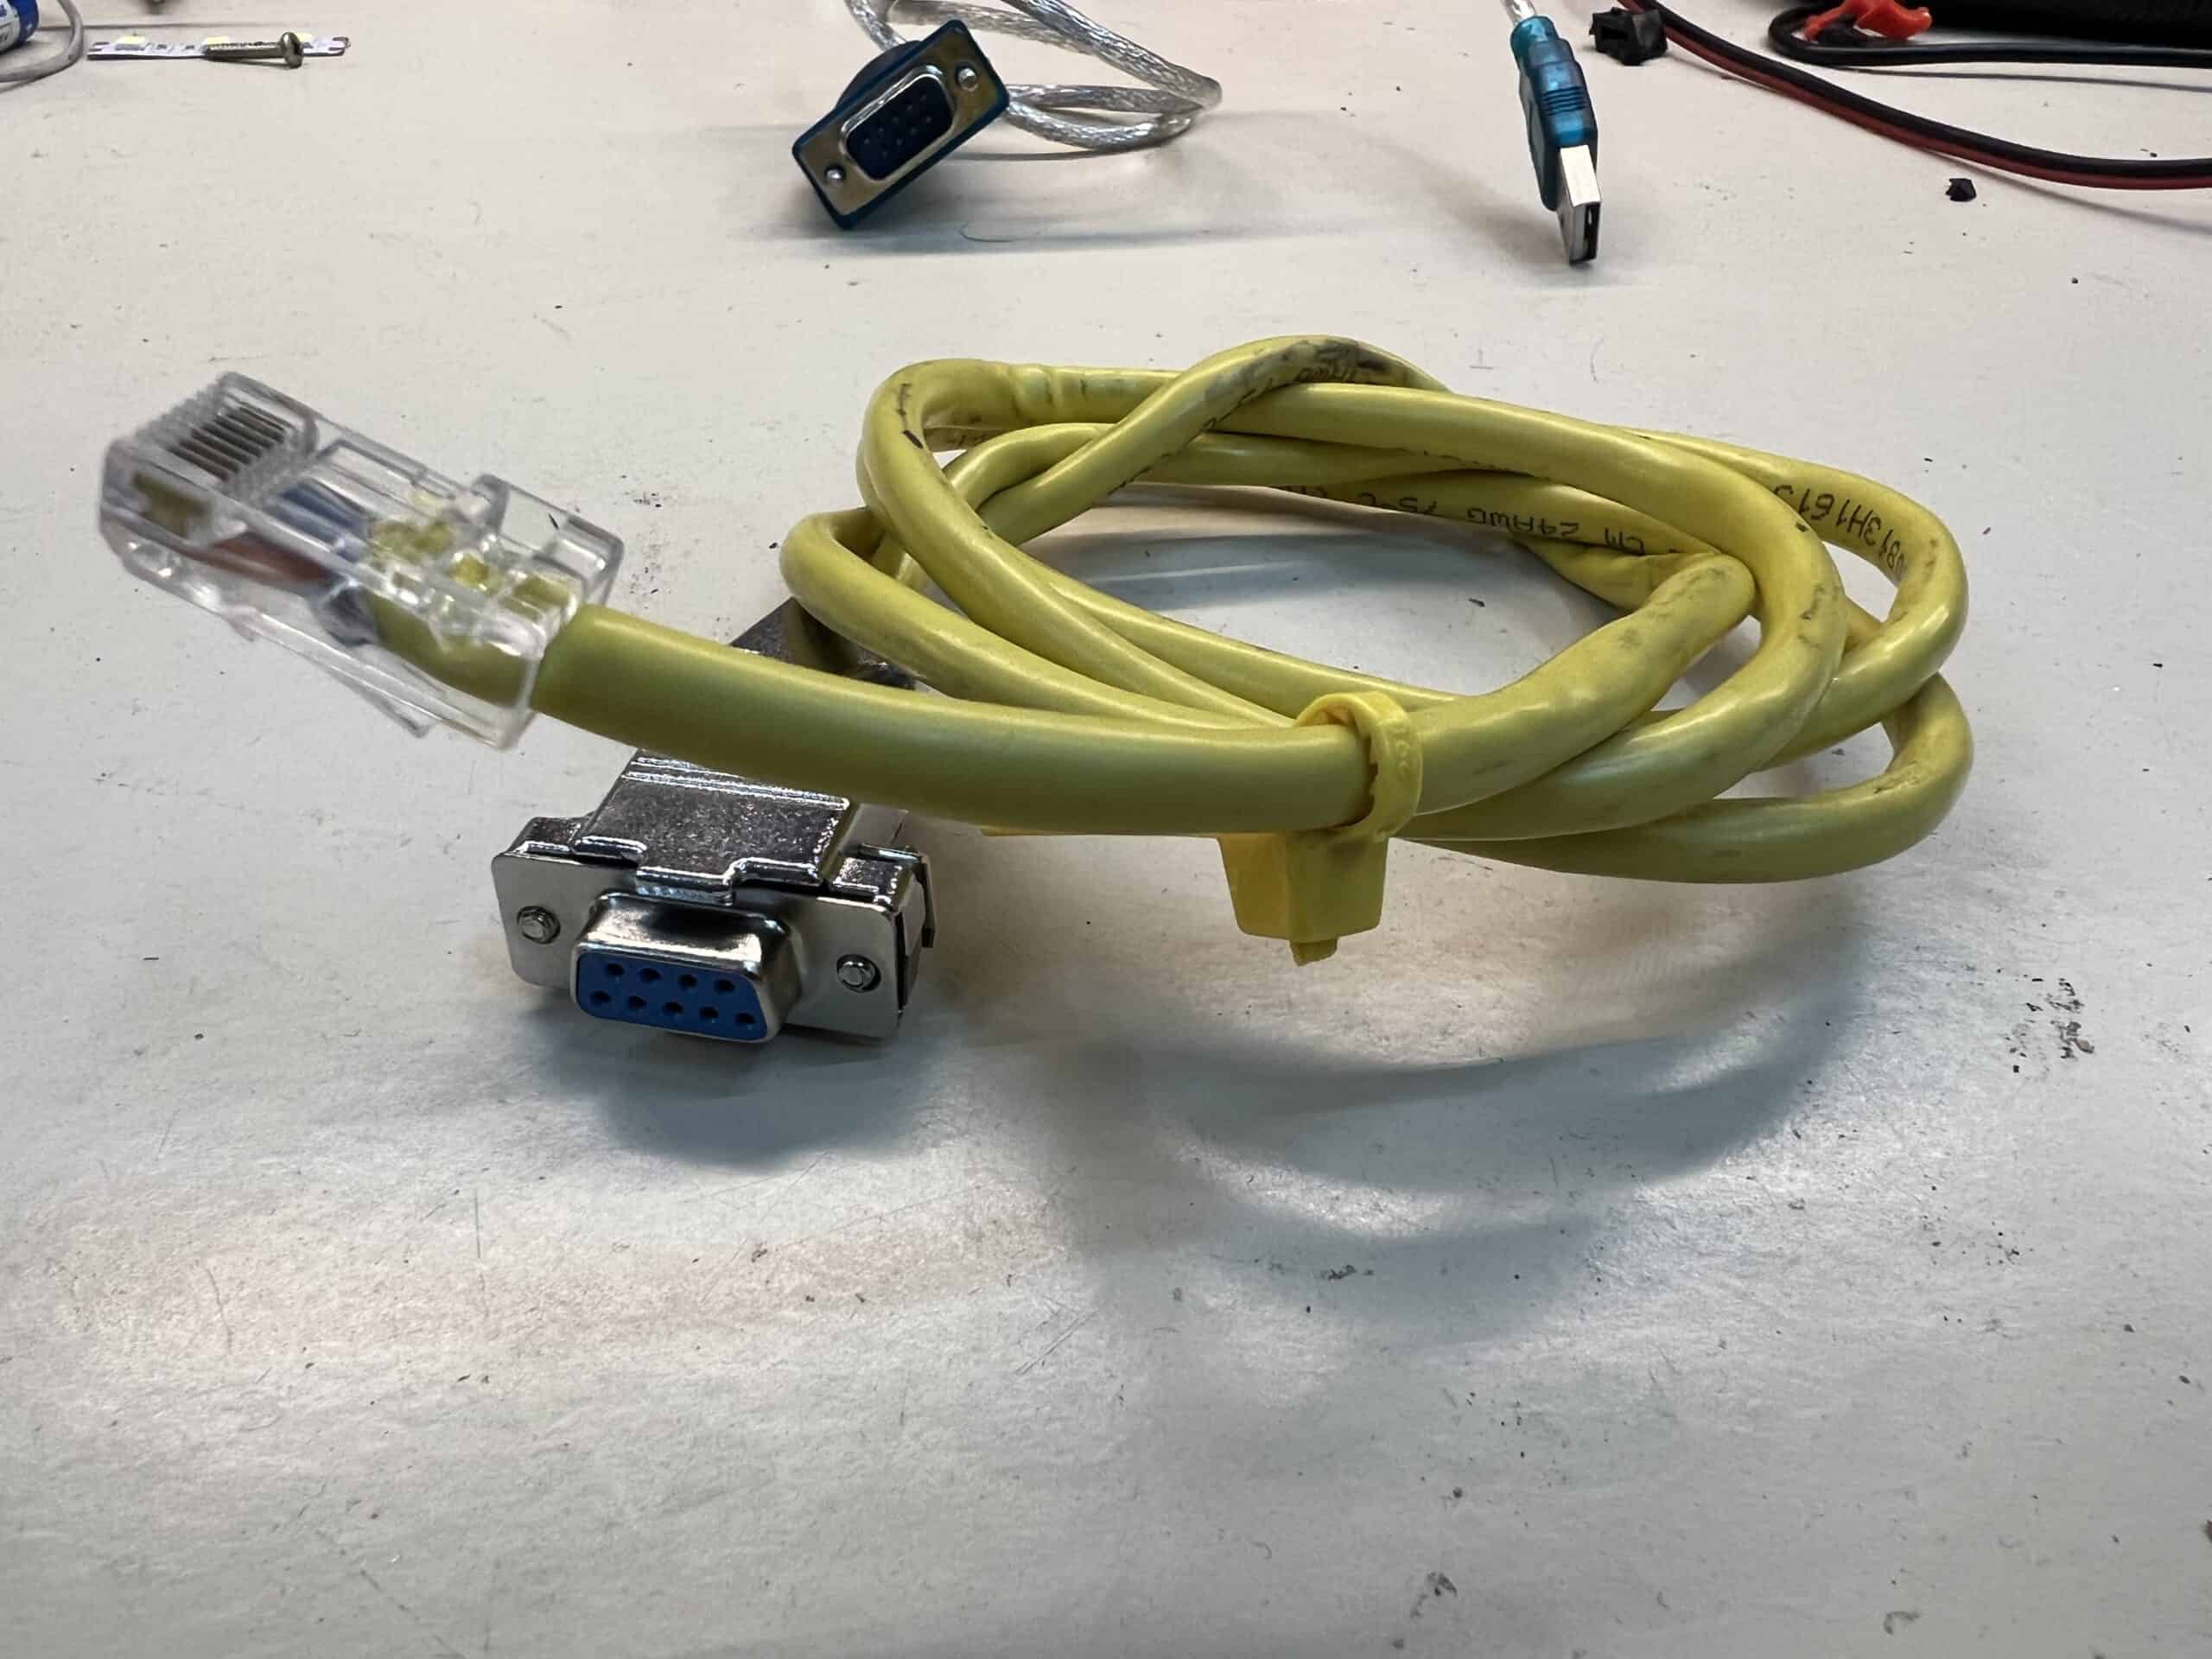
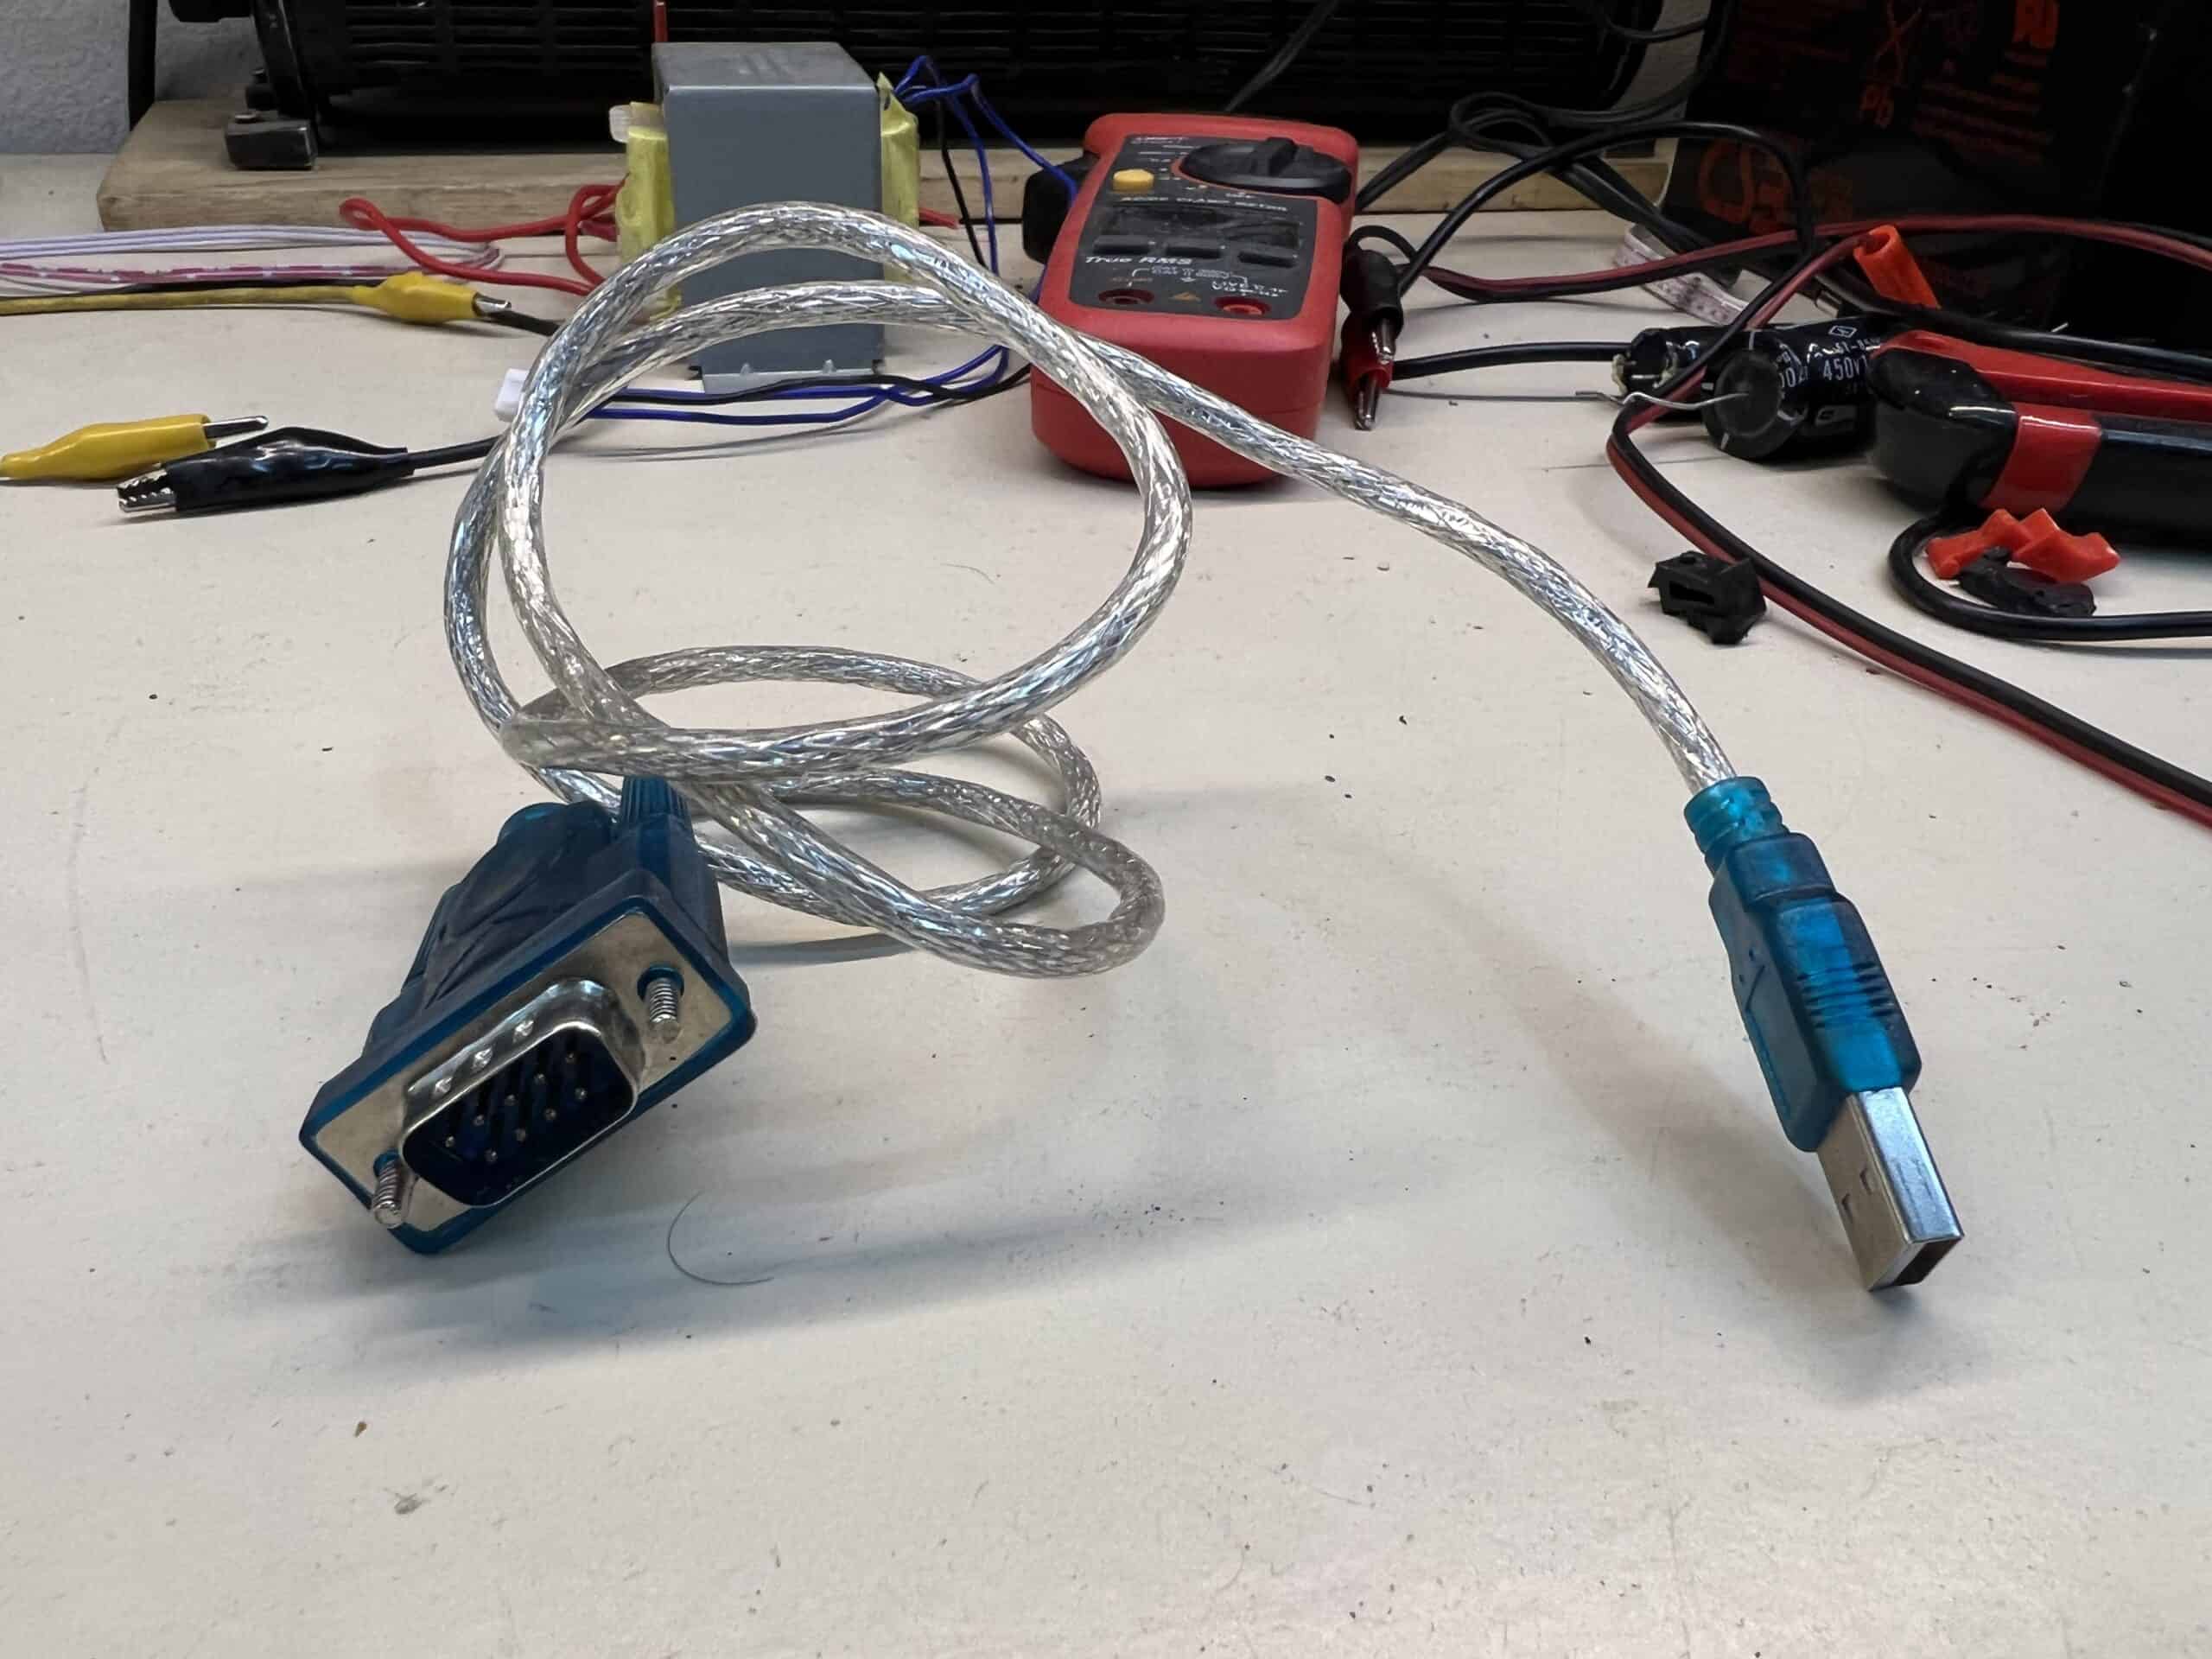
If you do not want to build, or do not have the skills to build it, you can buy a Tait programming cable on Amazon, ebay or aliexpress.
How to program Tait TM8110 – read the radio
Plug the programming cable and open up Device Manager to identify the assigned serial port number.
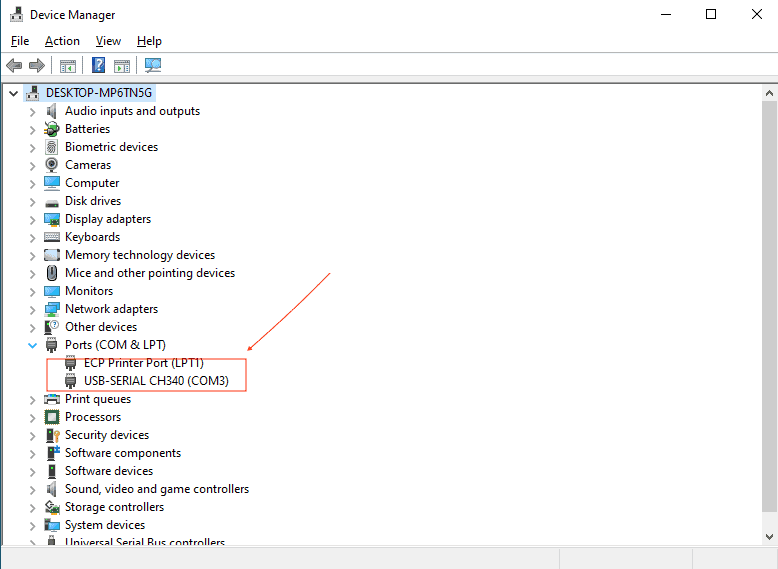
In my case the port number is COM3.
Open up the programming software. Then, click on Tools and then Options… Set the communication port with the same number identified in the previous step.
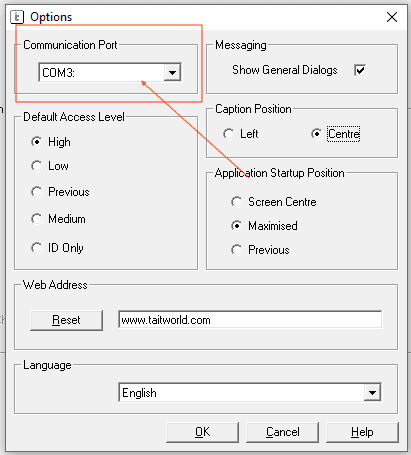
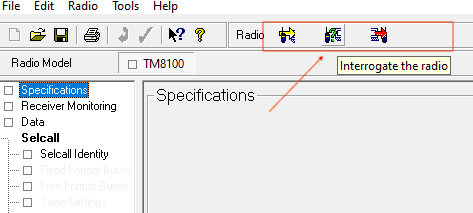
Click OK to continue. To test the serial port configuration, click on Interrogate radio and wait a few seconds to see information about your radio if everything works fine.
If the serial port configuration is correct, you will get information about your radio like the following image.
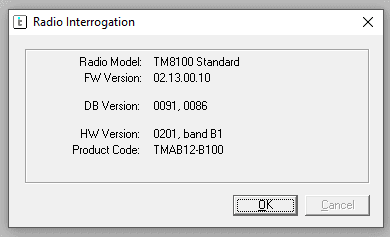
On the main screen of the Tait TM8100 programming application, select the appropriate radio model based on the information you got.
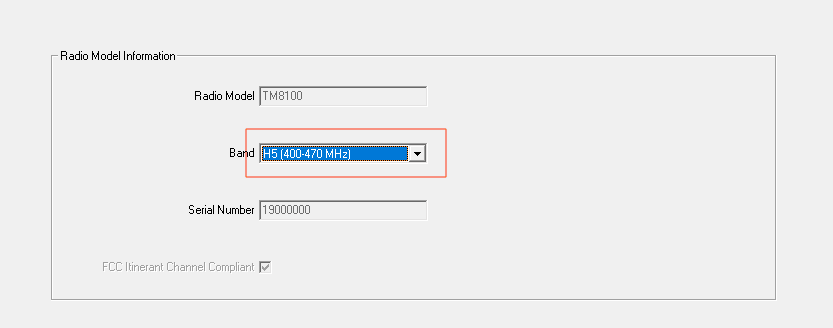
Now it’s time to read the radio’s configuration. Click on Read the radio.
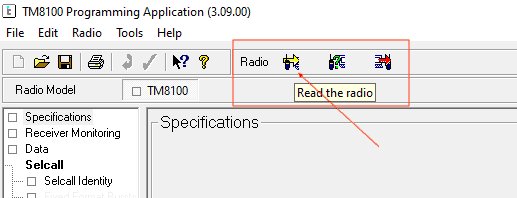
Wait a few second until the configuration read process finishes.
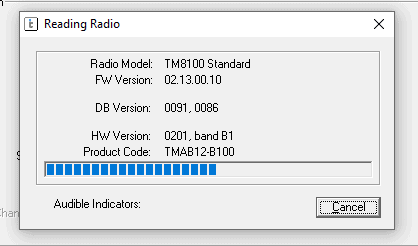
How to program Tait TM8110 – channel configuration
Click on Channel setup and then, Channels. Modify the channel configuration based on your needs.
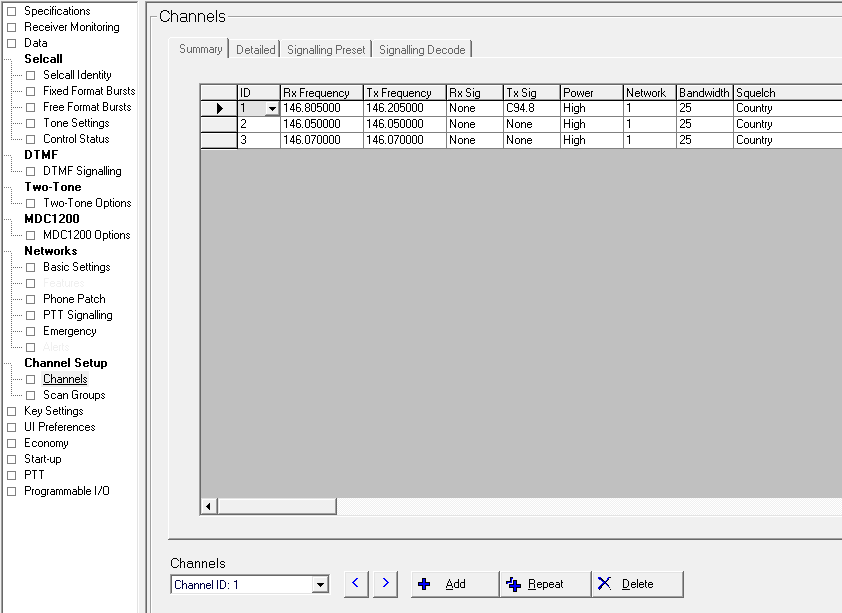
Later you will see that you can adjust the power output using a button so my recommendation here is to set every channel as High. In my case I just need to configure basic configurations but there are a lot more to configure for each channel.
I will use this radio to communicate using some local repeaters with friends.
How to program Tait TM8110 – key settings
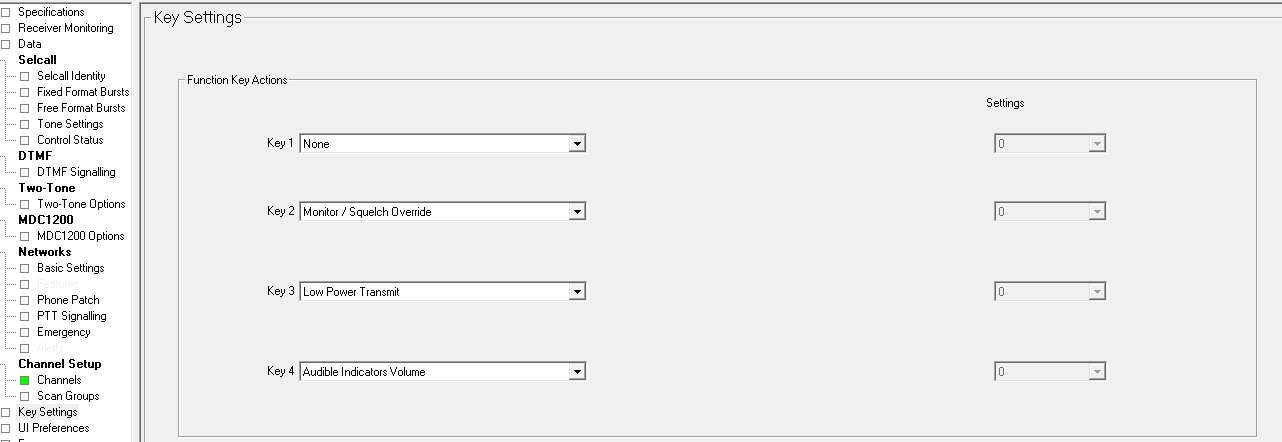
This radio has only 4 buttons or keys on the front panel so you have to choose wisely the function you are going to assign to each one.
How to program Tait TM8110 – Misc. settings
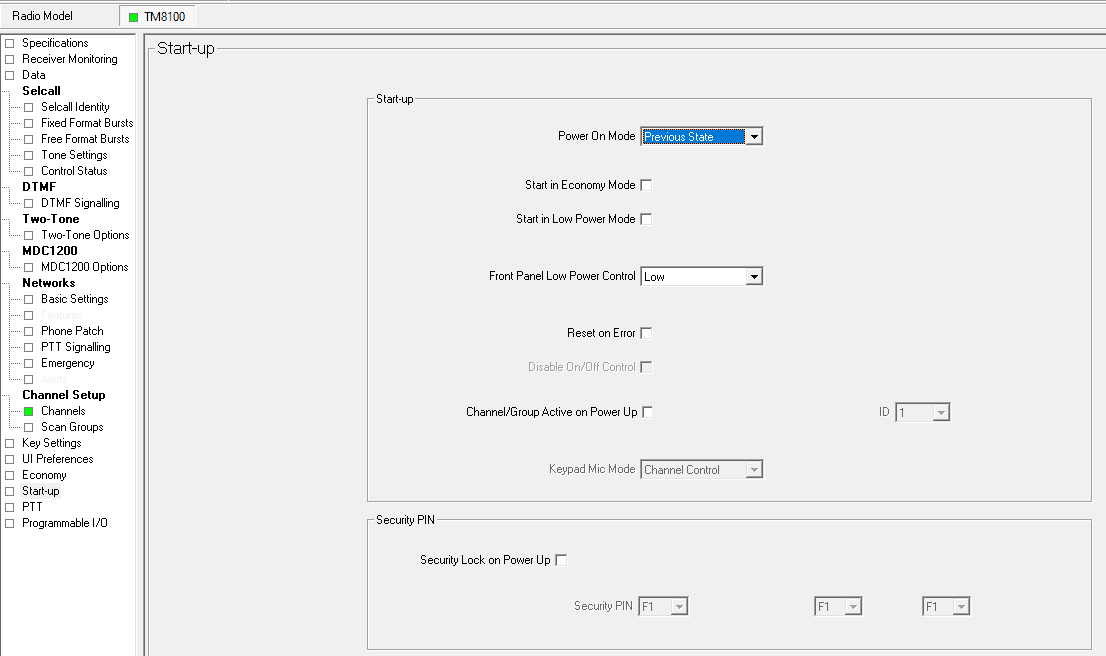
Startup settings
You can configure how your radio will respond in case of losing power. In my case I always leave this kind of setting to go back to the same state the radio was before losing power.
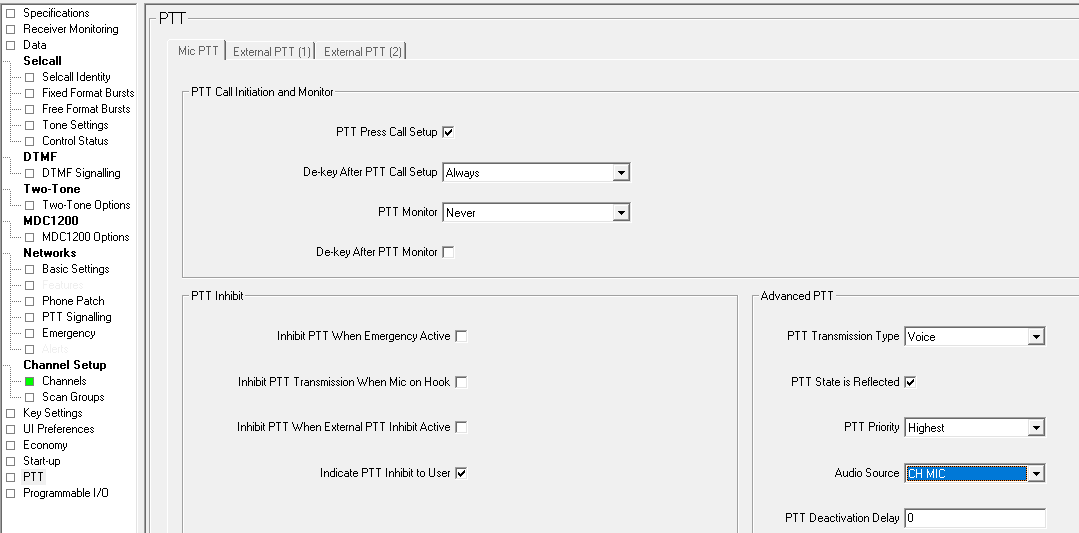
PTT settings
This radio can transmit using the PPT of the microphone or using one of the two options on the auxiliary port. You can configure the behaviour of each on this configuration page.
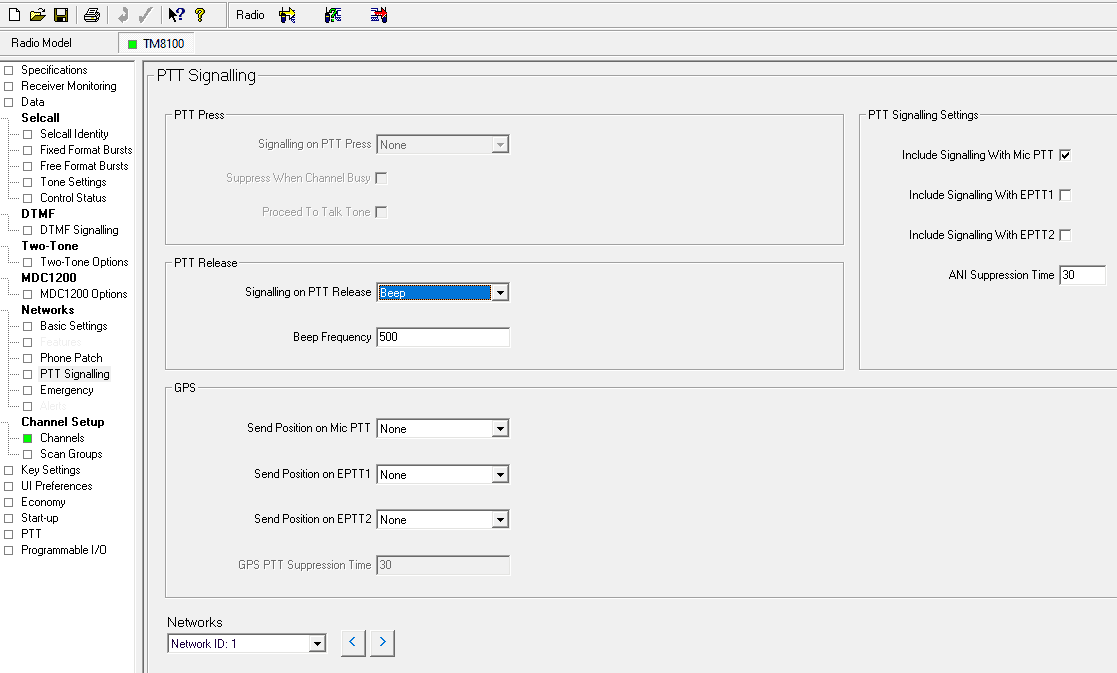
PTT signaling
You can also configure othe behaviours of the PTT. Among the settins is the option to include a roger beep at the end of the transmition like a citizens band radio. I don’t know why but I really like this.
Also, you can transmit your position if you buy the GPS Add-on. Initially I thought I could use this for APRS direclty but you can’t.
Data communication
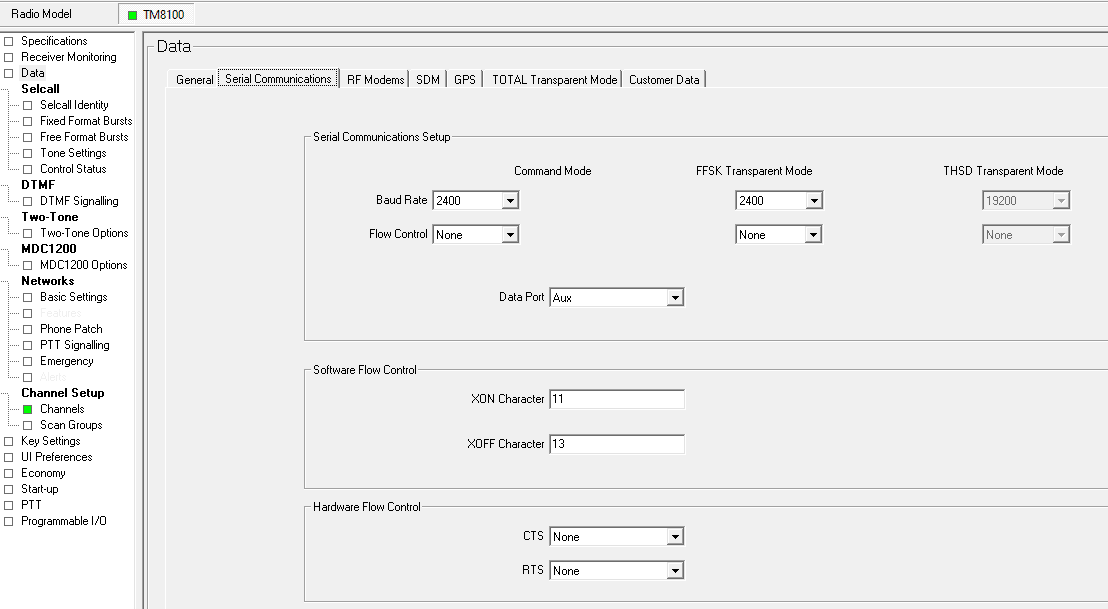
In case you have problems programming the radio, you can configure the settings of the serial port. Also, you can configure other options for data transmition like GPS and RF Modems.
Auxiliary port
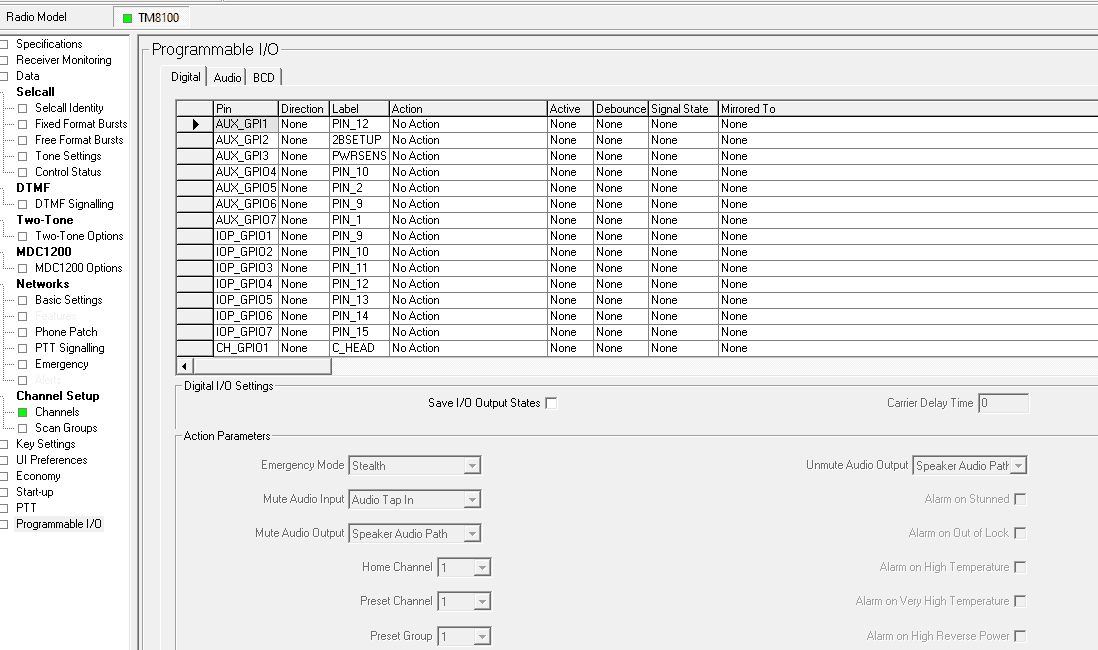
As I mentioned on the Tait TM8100 specifications post, this radio includes an auxiliary port which you can use for several use cases. The beauty of this radio is that you can configure almost every pin as needed. This gives you a ton of versatility on what you can do with the radio.
On the programmable I/O page you can configure the pin out of the auxiliary port.
How to program Tait TM8110 – configuring the radio
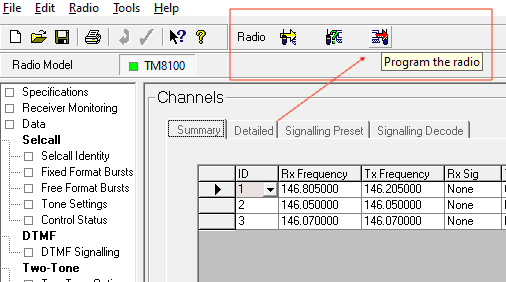
Now that you have configure the parameters as needed it’s time to write the configuration to the radio. To do this, click on Program the radio to start the process.
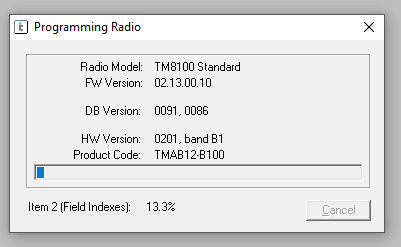
Wait a few seconds to the process to finish.
Now you have your radio programmed.
Hope this post helped you understand how to Tait TM8110. If you have any questions please feel free to leave a comment or post on the Tait Radio user forum.

Great info here. Thanks for sharing this. I greatly appreciate all the detail.
However, I think your photo pictorial that shows the DB-9 connections to the 8P8C modular connector (RJ45) Mic plug have the TX and RX signals backwards. I think that the PC data transmit (data from the PC to the radio) appears on DB-9 pin 2 and that should connect to pin 7 of the 8P8C Mic Plug, and that Radio data transmit (data from the radio to the PC) appears on pin 3 of the 8P8C Pic Plug and that should go to pin 3 of the DB-9.
This link contains cut-and-pastes from Tait documents that show the programming pinouts. https://wiki.oarc.uk/radios:tait_tm8100